
Site migrations are one of the highest-risk events in SEO. Done correctly, rankings recover within weeks. Done incorrectly, traffic can drop by 50–80% and take months to recover – sometimes never fully returning.
The difference between a smooth migration and a catastrophic one almost always comes down to preparation. Most businesses treat migration as a technical task and discover the SEO consequences after launch. The businesses that maintain their rankings treat it as an SEO project that happens to involve technical execution.
This guide covers everything you need to know about website migration SEO 2026 – from pre-migration planning through post-launch monitoring – so your rankings survive the transition.
What Counts as a Website Migration?
A website migration is any significant change to your website that affects how search engines access, crawl, or rank your content. This includes:
- Domain changes – moving from one domain to another (e.g., oldcompany.com to newcompany.com)
- HTTP to HTTPS – securing your site with SSL (still common on Indian business websites)
- CMS changes – moving from Wix to WordPress, WordPress to custom-built, or any platform switch
- URL structure changes – restructuring your site architecture, changing URL formats
- Website redesigns – changing page structure, content, or navigation significantly
- Subdomain to subdirectory migrations – moving blog.domain.com content to domain.com/blog/
Any of these can cause ranking drops if handled incorrectly. The severity depends on scale: changing one URL is a minor event; changing your domain, URL structure, and CMS simultaneously is a high-risk event that requires meticulous planning.
Phase 1: Pre-Migration – The Work That Protects Your Rankings
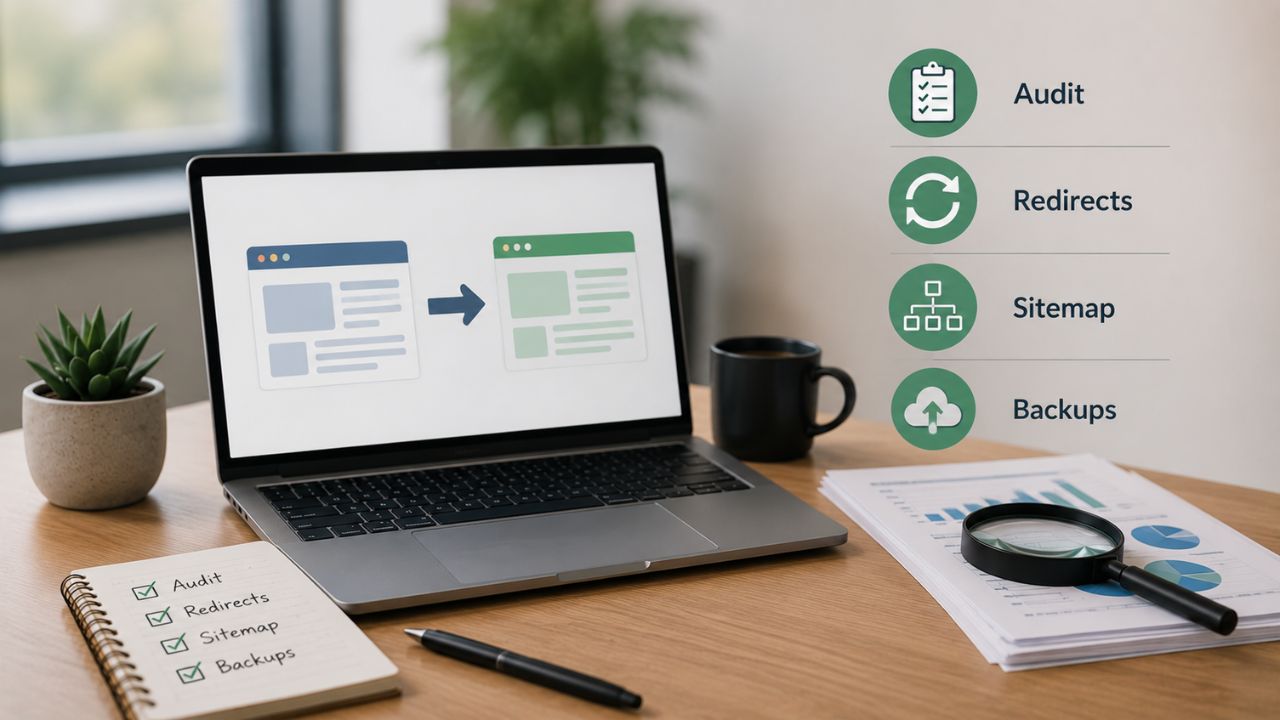
90% of migration SEO disasters are caused by insufficient pre-migration preparation. This phase is where your protection is built.
Step 1: Audit and Document Your Current State
Before anything changes, create a complete record of where you stand. This becomes your baseline for measuring recovery.
Export from Google Search Console:
- All currently indexed URLs (Download full URL list from the Pages report)
- Your top-performing pages by clicks and impressions
- Core Web Vitals status for key pages
- Any existing manual actions or security issues
Export from Google Analytics:
- Month-over-month organic traffic by landing page for the past 12 months
- Top organic landing pages (your highest-value pages to protect)
Crawl your site:
- Use Screaming Frog to crawl the entire site before migration
- Export all URLs, status codes, title tags, meta descriptions, H1s, canonical tags, and internal links
- This gives you a complete pre-migration snapshot to compare against post-migration
Step 2: Map Every URL
Create a comprehensive redirect map – a spreadsheet that lists every old URL alongside its new URL destination.
This is the most critical document in your migration. Without it, you’ll have hundreds of 404 errors instead of 301 redirects, and every backlink, every bookmark, and every internal link to your old URLs will become a dead end.
For every URL that changes:
- Old URL → New URL (exact match preferred)
- Priority level (high value pages need immediate attention)
- Redirect type (301 for permanent, which is almost always correct)
If the new site consolidates pages (several old pages merged into one), redirect all the old URLs to the most relevant new URL.
Step 3: Set Up a Staging Environment
Never develop your new site on the live domain. Build and test on a staging environment that is:
- Password protected or blocked from Google via robots.txt with Disallow: /
- On a subdomain (staging.yourdomain.com) rather than a separate domain
- As close to the live server environment as possible
Verify the staging environment is not indexable before proceeding. A staging site accidentally indexed creates duplicate content at scale.
Phase 2: Pre-Launch Checks
Before going live, run through this website migration checklist SEO on your staging site:
Technical Checks
- Robots.txt – verify the staging site blocks all crawlers; verify the live robots.txt will allow all crawlers post-launch
- Noindex tags – search the staging codebase for any noindex meta tags that should not be on the live site
- Canonical tags – verify every page has a self-referencing canonical pointing to its final live URL
- Page titles and meta descriptions – spot-check key pages to confirm content migrated correctly
- Redirects – test every redirect in your redirect map using a tool like Screaming Frog or a bulk redirect checker
- Internal links – run a crawl on staging and check that no internal links still point to old URLs or staging URLs
- Structured data – verify schema markup migrated correctly using Google’s Rich Results Test
- Google Analytics and Search Console tags – confirm tracking codes are on all pages and firing correctly
Content Checks
- Compare page counts – your new site should have at least as many pages as the old (excluding intentionally removed pages)
- Check your top-performing pages – manually verify these exist on the new site with equivalent or improved content
- Image alt text – confirm images migrated with their alt text, not just the files
- Forms and CTAs – test all contact forms, WhatsApp click buttons, and conversion elements
Speed and Experience Checks
- Run your top landing pages through Google PageSpeed Insights on staging
- Compare mobile and desktop scores against your pre-migration baseline
- Test on a real mobile device – not just browser emulation
Phase 3: Migration Day
Choose your go-live time carefully. For Indian business websites:
- Launch early in the week (Tuesday or Wednesday) – this gives you a full working week to identify and fix issues
- Avoid Fridays – launching before a weekend means two days before your team can respond to problems
- Avoid peak traffic periods – launch during lower-traffic hours (11 PM–6 AM IST works well for most business sites)
Launch Day Actions
- Deploy the new site – switch DNS or deploy from staging to live
- Implement all redirects – verify the redirect map is live immediately at launch, not after
- Update robots.txt – change from blocking to allowing crawlers
- Remove any noindex tags that were on staging pages now going live
- Submit your new sitemap in Google Search Console
- Request indexing for your most important pages via the URL Inspection tool
- Monitor Google Search Console – check for crawl errors and indexing issues in real time
Phase 4: Relaunch Site SEO – Post-Migration Monitoring
The work doesn’t end at launch. Post-migration monitoring is where you catch and correct issues before they compound into significant ranking drops.
Week 1: Daily Monitoring
- Google Search Console → Coverage/Pages – check for new 404 errors, crawl issues, and indexing changes
- Google Search Console → Performance – monitor clicks and impressions for sudden drops
- Check redirect chains – verify 301 redirects are single-hop, not chaining
- Monitor Core Web Vitals – verify the live site scores match staging expectations
Week 2–4: Weekly Monitoring
- Track ranking positions for your top 20–30 keywords using a rank tracker
- Monitor backlink status – check that backlinks to old URLs are being passed correctly via 301 redirects using Ahrefs or Search Console’s Links report
- Compare organic traffic to pre-migration baseline – some fluctuation is normal in weeks 1–2
- Check for mixed content if you migrated from HTTP to HTTPS – use Why No Padlock
Month 2–3: Recovery Assessment
Most migrations see a temporary dip in rankings before recovering. For a well-executed migration, recovery typically occurs within 4–8 weeks. If rankings haven’t recovered by week 8–12, investigate:
- Are all 301 redirects still in place and returning 301 (not 302) status?
- Has Google indexed the new URLs or is it still showing old URLs in results?
- Are there canonical tag issues sending signals to wrong URLs?
- Did page quality or content change significantly during migration?
Domain Migration Rankings: Special Considerations
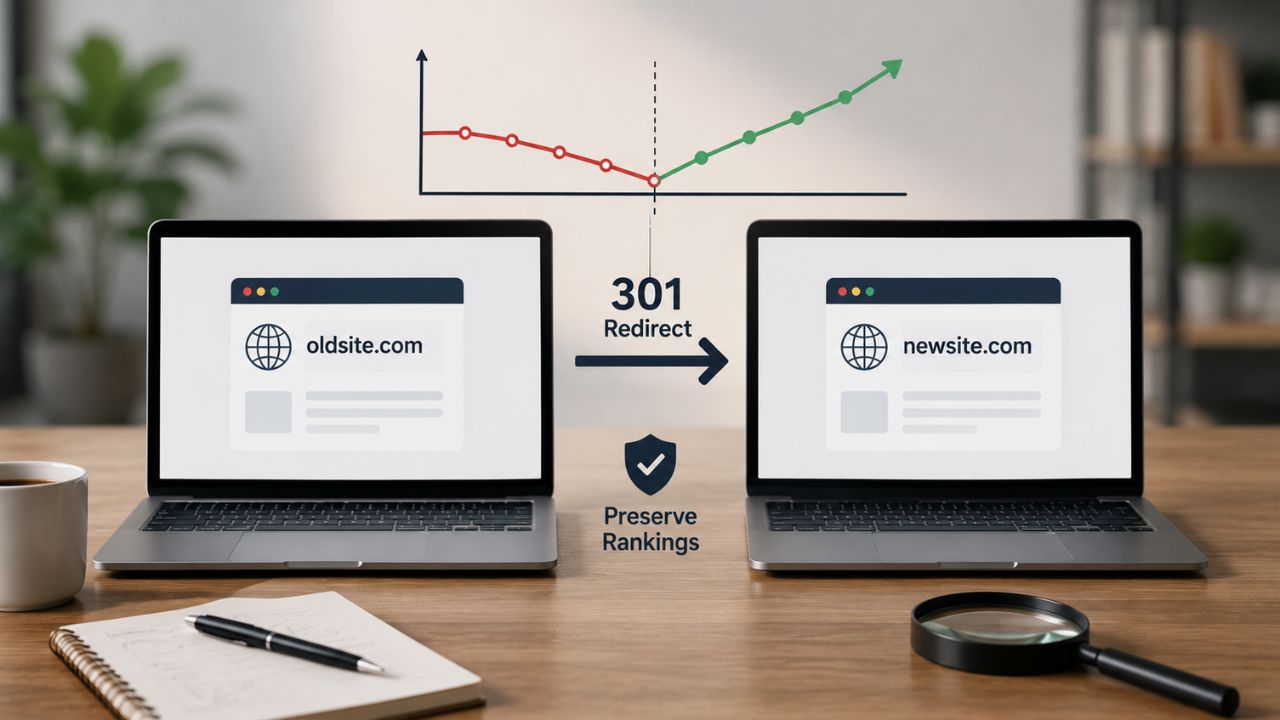
Domain migrations (moving to an entirely new domain) carry additional complexity because Google must transfer authority from the old domain to the new one.
Using the Change of Address Tool
If you’re migrating to a new domain, use Google Search Console’s Change of Address tool after completing the migration:
- Verify both the old and new domains in Search Console
- On the old domain property → Settings → Change of address
- Select the new domain and submit
Google uses this as a strong signal to transfer ranking credit from the old domain to the new one. This is not optional for domain migrations – skipping it significantly delays authority transfer.
Keep Old Domain Redirects Active
For domain migrations, maintain 301 redirects from the old domain for a minimum of 12 months – ideally permanently. Backlinks to your old domain continue to accumulate link equity even after migration. Removing redirects before that equity transfers completely can cause permanent ranking loss.
The Bottom Line
A successful website migration is a project, not a deployment. It requires weeks of pre-migration preparation, a comprehensive redirect map, thorough pre-launch testing, a carefully timed go-live, and diligent post-migration monitoring.
For Website Migration SEO 2026, businesses that protect rankings treat every URL as valuable. Proper planning, redirect mapping, and pre-launch SEO checks help preserve traffic, rankings, and indexing during migration.
Prepare thoroughly. Launch carefully. Monitor relentlessly.
Want BeSky Marketing to Manage Your Website Migration?
At BeSky Marketing, we help Indian businesses improve Duplicate Content & Canonical Tags SEO in 2026-identifying duplicate URLs, fixing canonical tag issues, implementing redirects, and improving indexing to protect rankings and organic traffic.
Frequently Asked Questions (FAQs)
Q1. How long do rankings recover after migration?
A well-planned migration usually stabilises rankings within 4–8 weeks. Domain changes may take 2–4 months for full recovery.
Q2. Do I need 301 redirects for every URL?
Yes. Every changed URL should have a 301 redirect to preserve rankings, traffic, and backlink value.
Q3. Biggest SEO migration mistake?
Launching without proper 301 redirects is the biggest mistake. It causes 404 errors, lost rankings, and traffic drops.
Q4. Should I change CMS and domain together?
Avoid it if possible. Change CMS or domain separately to reduce SEO risks and make issues easier to fix.
Q5. How to migrate HTTP to HTTPS safely?
Install SSL, add 301 redirects, update sitemap and canonicals, fix mixed content, and verify HTTPS in Search Console.
